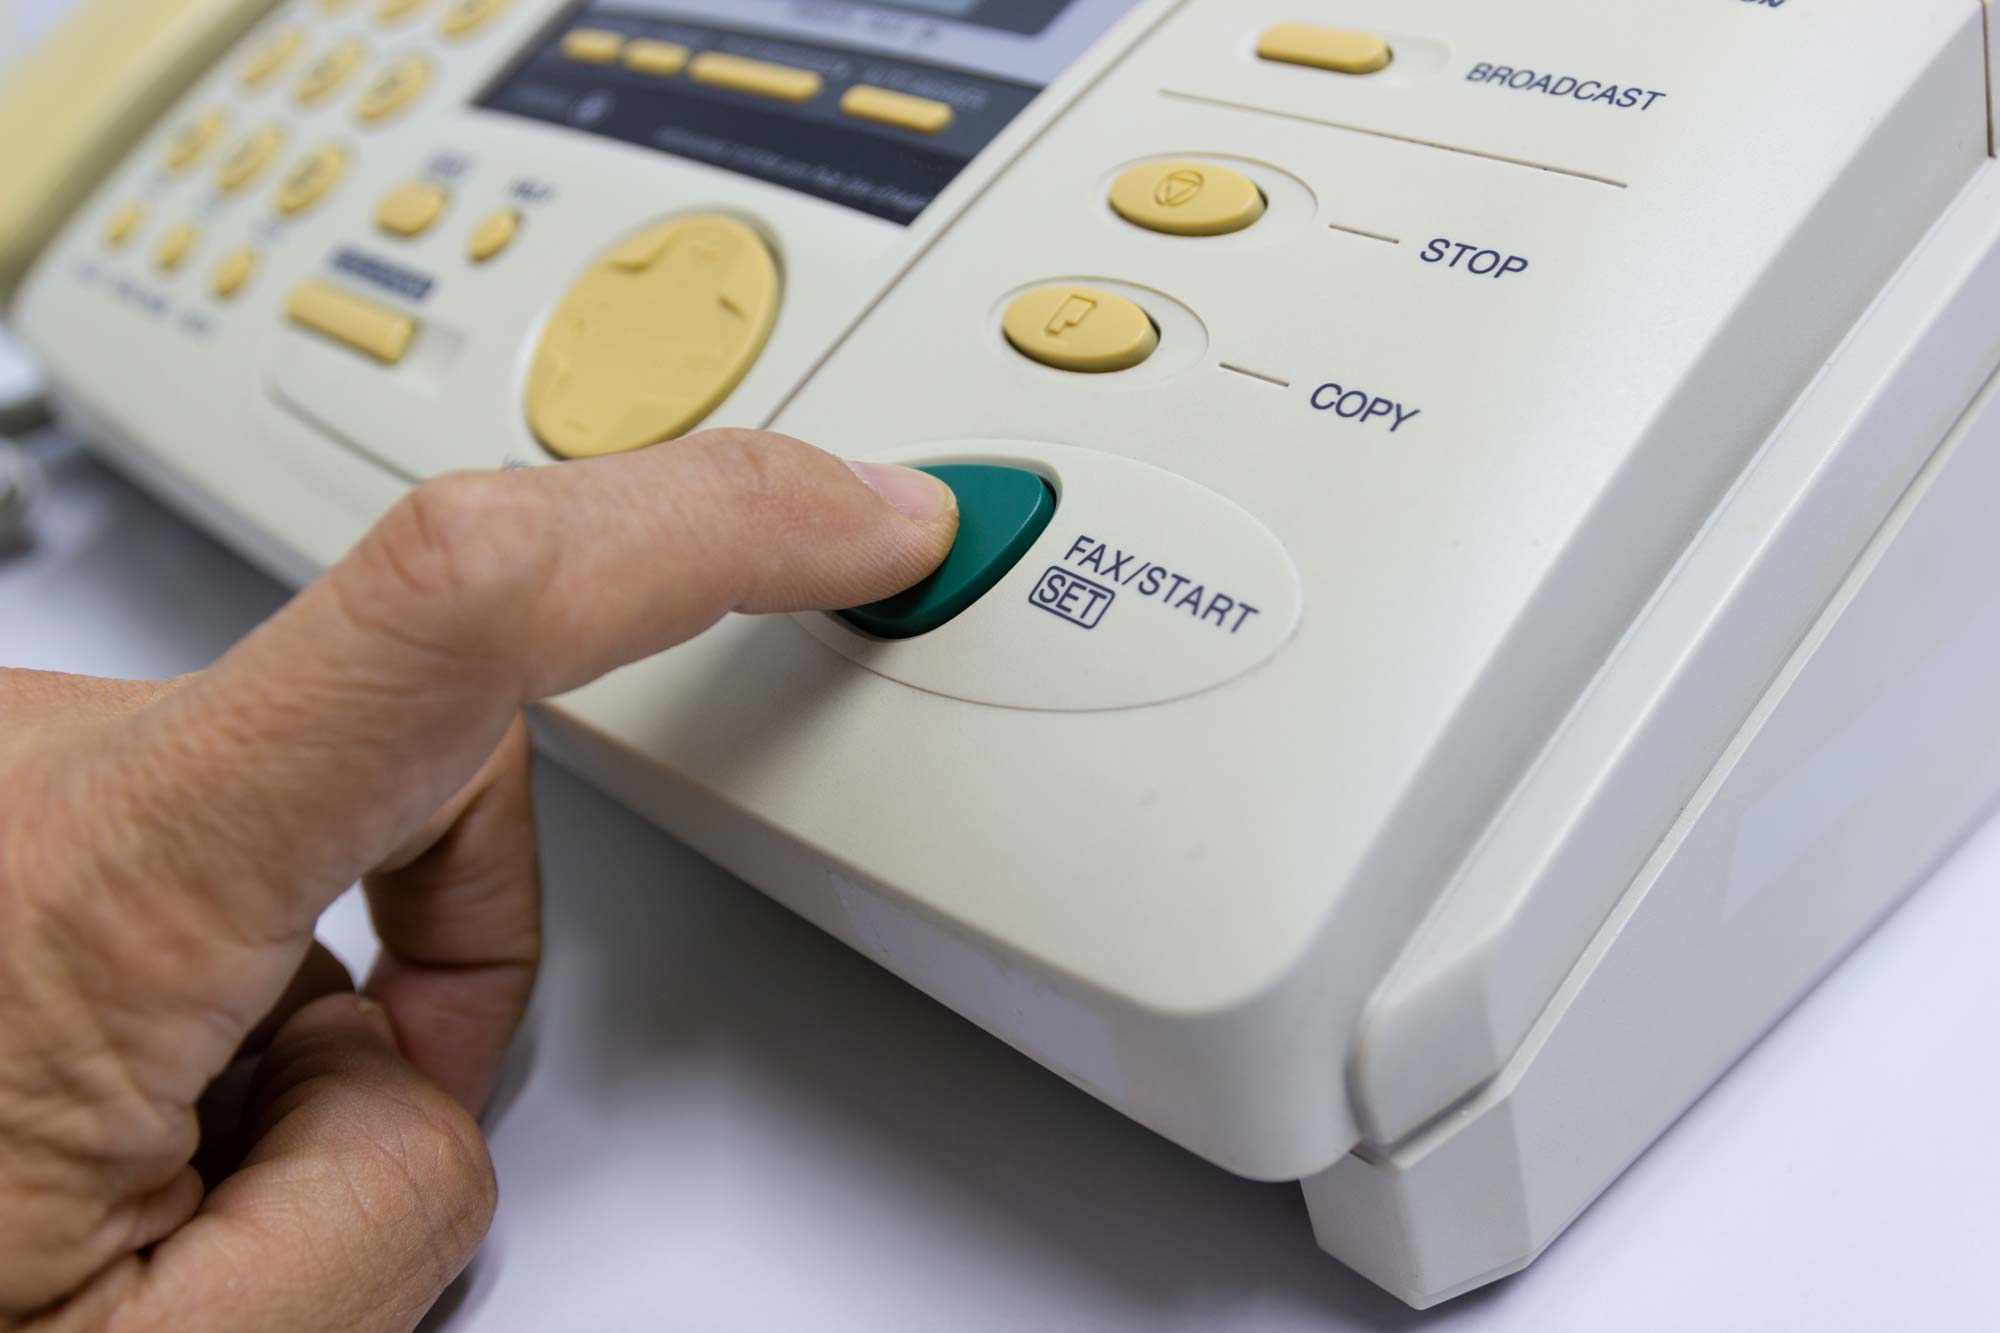
Faxing remains a vital communication tool for businesses, despite the rise of digital alternatives. Windows Fax and Scan streamlines the faxing process, making it easier, more efficient, and convenient.
Globally, over 17 billion faxes are sent each year, with traditional methods taking over 10 minutes per fax. Windows Fax and Scan can complete the task in seconds, saving both time and a reduction in costs. This guide will walk you through the features of Windows Fax and Scan and how it can provide a hassle-free experience.
What is Windows Fax and Scan?
Windows Fax and Scan is an in-built application in Microsoft Windows that allows users to send and receive faxes directly from their computer, eliminating the need for a separate fax machine. It seamlessly integrates with the Windows operating system and facilitates efficient handling of fax communications.
Key Features of Windows Fax and Scan:
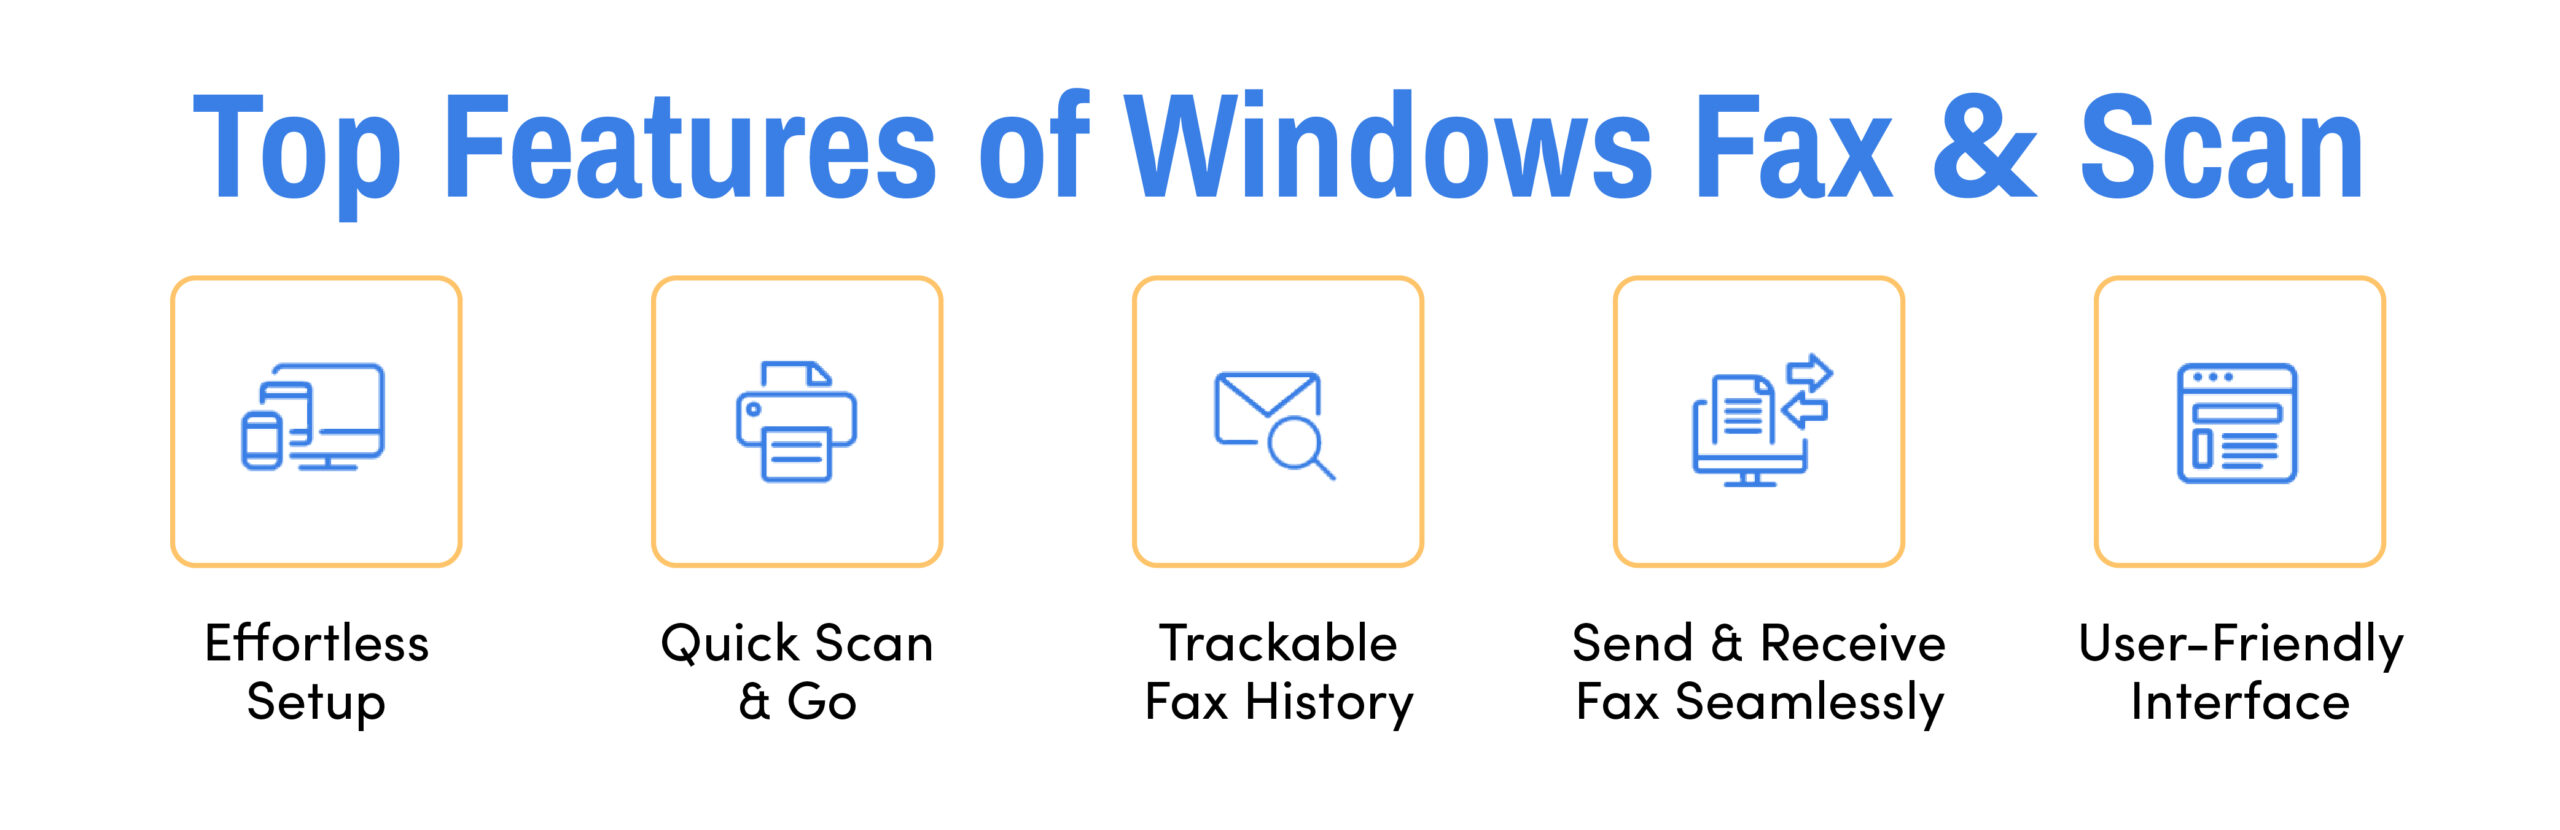
- Easy Setup: The setup is straightforward with an easy setup wizard that guides you through the entire process of configuring windows fax and scan.
- Send and Receive Faxes: Handle all your faxing tasks from your Windows computer, making it easy to send and receive documents without a physical fax machine.
- Scan Documents: Use your scanner or multifunction printer to digitize documents before faxing, further streamlining the process.
- Fax History: Keep track of sent and received faxes with a detailed history, making it easy to retrieve and review important documents.
- User-Friendly Interface: The application features a clear and straightforward interface, making it easy to use even if you’re not very tech-savvy.
With these features, Windows Fax and Scan provide a practical solution for all your faxing needs.
Prerequisites For Using Windows Fax and Scan

Before you start using Windows Fax and Scan, make sure you have a computer that meets these minimum requirements:
- Check Your Windows Operating System: Windows Fax and Scan is available on Windows Vista and later versions including Windows 7, Windows 8, Windows 8.1, Windows 10, and Windows 11. Make sure your computer is running a compatible version of Windows.
- Set Up Your Fax Modem or Internet Connection: To send and receive faxes, you will need a fax modem or an internet connection. If using a fax modem, you will require a phone cord to connect the modem to your telephone line.
- Equip Yourself with Scanner or Multifunction Printer (Optional): If you want to scan documents before faxing them, you’ll need a scanner or a multifunction printer. This equipment should be compatible with your computer and Windows Fax and Scan.
- Connect a Phone Line (For Fax Modem Users): If you’re using a fax modem, a working phone line connected to the modem is required for sending and receiving faxes.
5 Easy Steps To Set Up Windows Fax and Scan
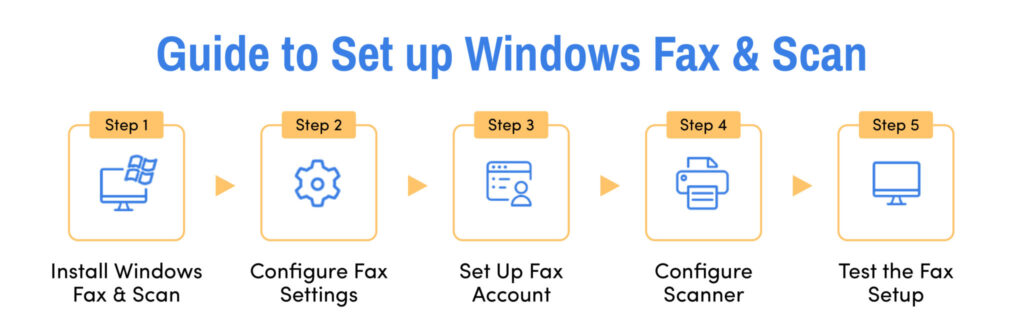
Setting up Windows Fax and Scan is a simple process. Follow these steps to set it up and running on your computer:
1. Install Windows Fax and Scan
- Open Settings on your computer
- Go to Apps, then click on Optional features.
- Click on Add a feature (Windows 10) or View features (Windows 11)
- Search for Windows Fax and Scan and select it, then click Install.
2. Configure Fax Settings
- Open Windows Fax and Scan by searching for it in the Start menu.
- Click on Tools in the menu bar and select Fax Settings.
- Follow the setup wizard to configure your fax modem or online fax service.
For a fax modem, you’ll need to select Add a fax modem and follow the prompts to connect it via the phone line.
3. Set Up Your Fax Account (For Online Services)
- If you are using an online fax service, go to the service provider’s website and sign in or create an account.
- Follow the provider’s instructions to link your account with Windows Fax and Scan.
4. Configure Scanner Settings (Optional)
- If you wish to use a scanner with Windows Fax and Scan, connect your scanner or multifunction printer to your computer.
- Open Windows Fax and Scan, and click on New Scan in the menu.
- Follow the on-screen prompts to set up your scanner.
5. Test the Fax Setup
- Click on New Fax in Windows Fax and Scan.
- Enter a test fax number or use your number if you have a phone line connected.
- Send a test fax to verify that everything is working correctly.
How to Send a Fax with Windows Fax and Scan?
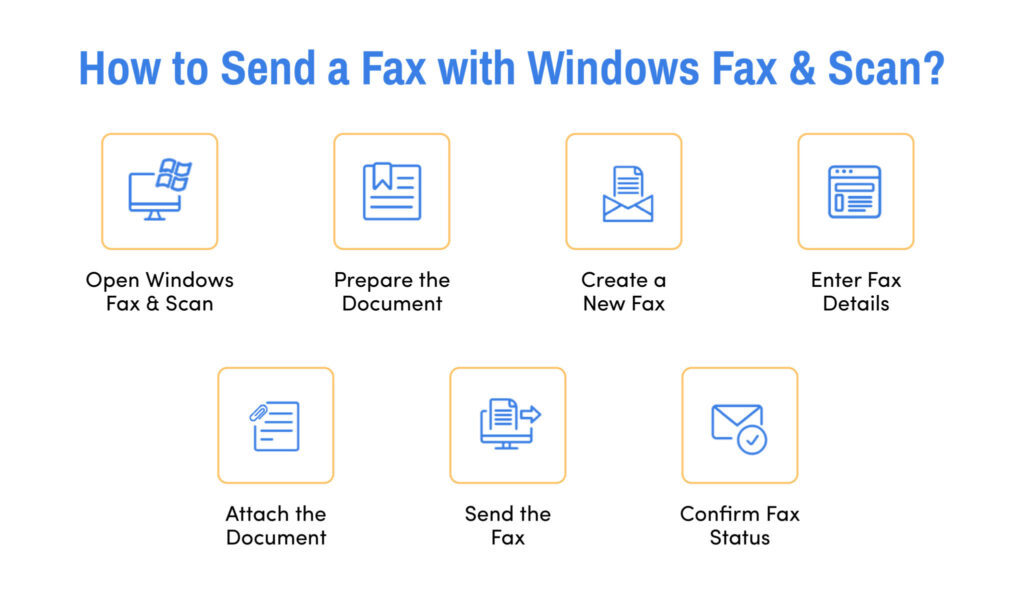
Once you have everything set up, you are ready to send faxes. Here’s a step-by-step guide for sending a fax with Windows Fax and Scan:
1. Open Windows Fax and Scan
Click on the Start menu and type Windows Fax and Scan in the search bar. Open the Windows Fax and Scan application.
2. Prepare Your Document
Make sure the document is ready on your computer and is in a compatible format.
If you need to scan a document, click on New Scan in the toolbar, follow the prompts to scan your document, and save it.
3. Create a New Fax
In Windows Fax and Scan, click on the New Fax button in the toolbar.
If this is your first time sending a fax, the Fax Setup Wizard may appear. Follow the on-screen instructions to complete the setup.
4. Enter Fax Details
In the New Fax window, fill in the required information.
5. Attach Your Document
Click on the Attach button (paperclip icon) to attach the document you want to fax.
6. Send the Fax
Review the information to confirm everything is correct and click on the Send button to send your fax.
7. Confirm Fax Status
After sending, you can monitor the status of your fax in the Outbox and Sent Items folders within Windows Fax and Scan.
How To Receive Faxes with Windows Fax and Scan
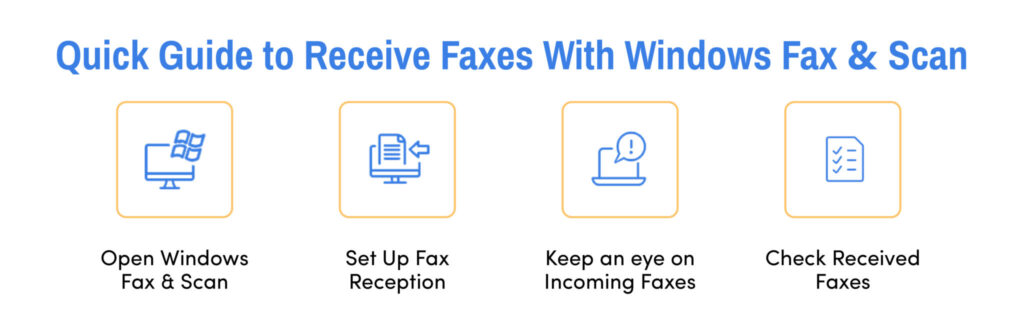
Follow these step-by-step instructions to receive faxes on your computer:
1. Open Windows Fax and Scan
Click on the Start menu and type Windows Fax and Scan in the search bar. Open the Windows Fax and Scan application.
2. Set Up to Receive Faxes
In Windows Fax and Scan, click on the Tools menu and select Fax Settings.
Go to the General tab and make sure your fax modem is configured. If you’re using an online fax service, confirm your account is set up properly
Click on the Receive tab and select the option to Automatically answer incoming calls. For automatic answering, specify the number of rings before the fax is picked up.
3. Monitor Incoming Faxes
With Windows Fax and Scan open, click on the Inbox in the left-hand pane. Here the received faxes will be stored.
If you have set up automatic answering, Windows Fax and Scan will receive incoming faxes and save them to your Inbox. For manual answering, you will have to click on the Receive a Fax Now button when you receive an incoming fax call.
4. View Received Faxes
Go to the Inbox folder within Windows Fax and Scan to view your received faxes. Double-click on a fax to open and read it. You can print, save, or forward the fax as required.
Transition to eFax for Advanced Faxing Needs
Windows Fax and Scan is a very slow and complex process.
Want to speed up the faxing process?
Looking for a simple and secure method for faxing?
Here are 4 key reasons why eFax is the perfect faxing solution for you.
Speed
eFax enables a much easier and smoother method for faxing. eFax doesn’t require any physical devices or phone lines. You can directly scan documents from your smartphone or tablet, upload them to the app, and then fax them. It is an entirely paperless and eco-friendly solution for your faxing requirements.
In the Windows fax & scan method, your PC needs a fax modem. With the eFax app, you can fax more than 200+ types of files directly from your phone like images, text files, or artwork.
Another advantage is that you can easily integrate eFax with applications like Gmail, Outlook, Google Drive, or Dropbox. It allows you to simultaneously share up to 3 GB of files to 20 people at once.
Cost-Effective and Convenient
With an eFax account, you get unlimited cloud storage for your files, saving you the cost of physical storage solutions. This can save you precious time, effort, and money.
Additional Features
Some of the other eFax features include:
- Data Encryption
- Audit Control
- eSignature
- eFax Messenger for Desktop
- International Faxing
- eFax API Integration
- Multifunction Printer Fax Direct
Security and Compliance
The best thing about eFax is its security features. eFax is HIPAA +BAA, PCI, GLBA, FERPA, HITRUST, and SOX compliant. HIPAA compliance ensures that all your documents are handled with the highest confidentiality. So, you don’t have to worry about your confidential data getting stolen or leaked.
FAQ’s Around Windows Fax and Scan
Windows Fax and Scan is pre-installed in all Windows versions, starting from Windows 7.
If it is not installed on your PC then you can perform the following steps-
- Open Control Panel
- Access Programs and Features
- Turn Windows Features On or Off
- Enable Fax and Scan:
- Restart Your Computer
Yes, you can fax multiple documents using Windows Fax & Scan. To fax more than one page, you must add multiple files to the attachment section.
You can scan various documents using Windows Fax and Scan, including text documents, images, ID cards, survey or application forms, artworks, birth and marriage certificates, and any printed documents.
Unfortunately, no direct feature exists for creating a “cover page” in Windows Fax and Scan. To make a cover page, you must use a dedicated document creation tool such as Google Docs or MS Word.
Yes, you can use Windows Fax and Scan to scan a document and save it as a PDF. Simply load the document you want to save using your scanner or multi-function printer/scanner/fax device, then use Microsoft Print to PDF to save the document as a PDF.
You can still download Windows Fax and Scan for Windows 10 and 11. Simply go to Windows Settings > Apps > Optional Features to download and install the app. You can open this tool by typing “Optional Features” in the Windows search box on the taskbar. From there, choose Windows Fax and Scan to download the app.